Leave Your Message
Choosing the right Display Touch Panel is not just a matter of size or resolution. The panel must suit its environment, users, and workload. A kiosk near a sunny window needs different brightness and surface treatment from a control screen used indoors. A gloved operator needs reliable touch response, not a polished specification sheet.
Design researcher Don Norman writes, “Good design is actually a lot harder to notice than poor design, in part because good designs fit our needs so well that the design is invisible.” That principle matters here. A useful panel should feel natural to operate, remain readable at its intended viewing distance, and respond consistently across repeated touches. Small details count. Fingerprints can obscure a glossy screen. Thick gloves can make a capacitive interface frustrating.
This guide explains how to compare touch technologies, display size, resolution, brightness, durability, and connectivity. It also considers operating conditions, expected service life, and integration requirements. Those factors can expose trade-offs that a product page may not show. A brighter panel, for example, may use more power or produce more heat. There is no universal best choice. Even careful specifications cannot replace testing the panel in its actual setting; that step is easy to underestimate.
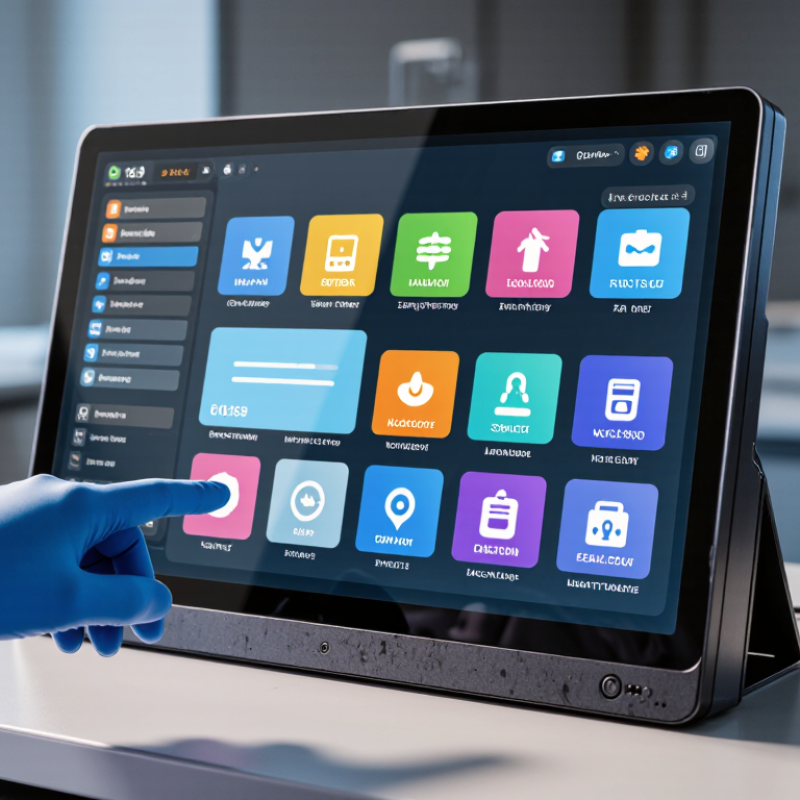
Before choosing a display touch panel, define where and how people will use it. A kiosk inside a quiet office faces different demands than a terminal beside a sunlit entrance. Indoor installations may work well with moderate brightness and standard temperature ratings. Outdoor panels need to handle direct sunlight, rain exposure, and wider temperature swings. A panel that looks clear in a showroom may become difficult to read near a bright window.
Check the full operating temperature range, not just the expected average. A device in an unheated service area may start on a frosty morning, then warm up during use. Confirm that both the panel and its touch function are rated for those conditions. Ambient light matters too: compare screen readability at the actual installation angle and time of day. Higher brightness can help, but it may increase power use and heat. There is a trade-off. It is easy to focus on specifications and overlook glare from a nearby glass door.
Tips: Test a sample in the intended location before ordering in volume. View it at eye level, with overhead lights on. Check touch response with the gloves users will actually wear. Record any weak spots; a quick test can still miss seasonal changes.
| How to Choose the Right Display Touch Panel? — Define the Use Case: Indoor or Outdoor, Operating Temperature, and Ambient Light | |||||
|---|---|---|---|---|---|
| Use Case | Typical Ambient Light | Suggested Display Brightness | Operating Temperature to Specify | Touch Panel Considerations | Practical Design Checks |
| Indoor office, kiosk, or control room | About 100–500 lux in many indoor spaces; brighter near windows | About 250–400 cd/m² (nits) is often a useful starting point | Match the product’s actual environment; commercial equipment commonly targets around 0–50°C, but specifications vary | Projected capacitive touch is commonly suitable for finger input and supports multi-touch. Check compatibility if users wear gloves. | Assess reflections from windows and overhead lighting. An anti-glare surface may improve readability, though it can slightly soften the image. |
| Bright indoor area, such as a shop window or sunlit lobby | Often 500–2,000 lux, with higher levels possible close to windows | About 400–700 cd/m² may help; evaluate the panel under the actual lighting | Include heat from sunlight through windows and nearby equipment, not just room air temperature | Confirm touch response through the intended cover glass and any protective overlay. | Consider optical bonding or a reflection-reducing surface where reflections are significant. Check viewing angle and contrast in the installed position. |
| Outdoor, mostly shaded | Open shade can be roughly 10,000–30,000 lux, depending on weather and surroundings | About 700–1,000 cd/m² is a common starting range for outdoor readability; verify in situ | Specify the full expected minimum and maximum ambient temperatures; extended-temperature products may be needed | Projected capacitive touch can work outdoors, but rain, moisture, and electrical noise may affect operation. Check the controller’s water-rejection capabilities. | Use a sealed enclosure suited to the installation, and assess condensation, UV exposure, glare, and thermal management. |
| Outdoor, exposed to direct sunlight | Direct sunlight can exceed 50,000 lux and may approach 100,000 lux in bright conditions | Often 1,000 cd/m² or higher is considered for sunlight-readable systems; brightness alone does not eliminate reflections | Account for solar heating: the display’s internal temperature can exceed the measured outdoor air temperature | Choose a touch system validated for sunlight, moisture, and the intended cover-glass thickness. Test with wet fingers or gloves if required. | Evaluate optical bonding, anti-reflective or anti-glare treatments, contrast, power consumption, and heat dissipation together. |
| Cold or hot industrial environment | Varies by site; bright task lighting and reflections may still be relevant indoors | Select brightness based on measured light and viewing conditions, rather than temperature alone | Set explicit minimum and maximum operating temperatures for the complete assembly, including touch controller and backlight | Check touch performance at temperature extremes and with required gloves, moisture, or protective covers. | Confirm startup temperature, storage temperature, warm-up behavior, and any derating limits in the component specifications. |
| Selection note: Brightness and temperature ranges above are practical starting points, not universal requirements. Ambient-light readings, reflections, viewing angle, enclosure design, and component specifications can change the final choice. Confirm performance with the complete display assembly in its intended installation. | |||||